HPを作成するため、その下書き用としてProxmox上にでwordpressサーバーを構築しました。
以前はWindows PC上のエミュレーター(Local by Flywheel)で構築していましたが、複数人での検証が容易になるようサーバー構築に移行しました。
環境
自宅には仮想サーバー(ProxmoxVE)が稼働しているため、その上に構築しています。
- 物理サーバー:ProxmoxVE
- OS: Ubuntu24.04LTS
- Webサーバー:Apache2
- PHP+PHP-FPM: Ver8.3
- データベース:MariaDB 10.11
- WordPress:最新版(執筆時点ではVer6.9)
構築手順
[1]OS構築とインストール環境の準備
最初にProxmox上へUbuntu24.04LTSを仮想OSとして構築します。
仮想OSに割り当てるハードスペックは以下で設定します。
単体機能サーバーとして動かすので以下の最低スペックでも十分動作します。
- Core数:2(構築後は1にしています)
- RAM:4GB
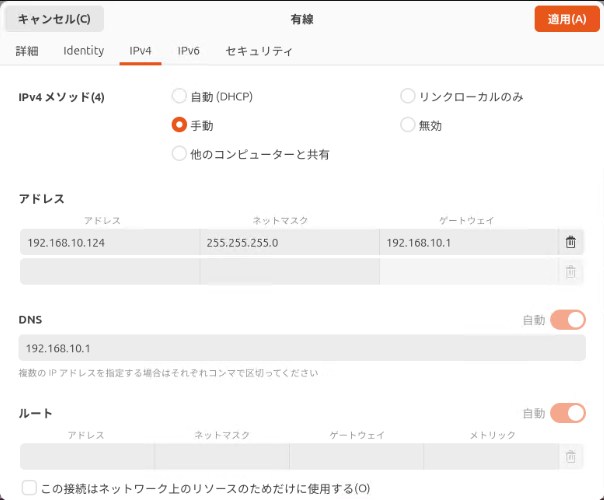
OSのインストールが終わりましたら、ProxmoxのGUIコンソールを使って、仮想OSのネットワーク環境の割り付け等を行います。
ネットワーク設定:イントラネット内のサーバー稼働とするため固定IPを割り付けます。
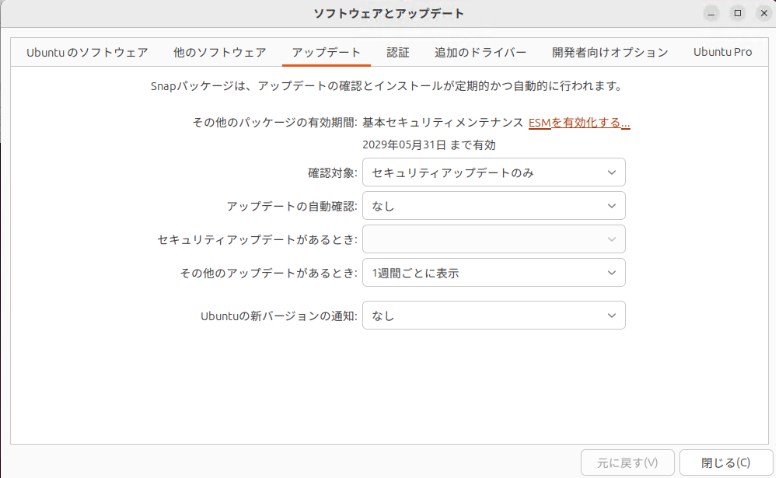
ソフトウェア自動更新設定:イントラネット内で動かすため、自動更新はすべてオフにします。
次にOS更新とsshサーバーをインストールします。
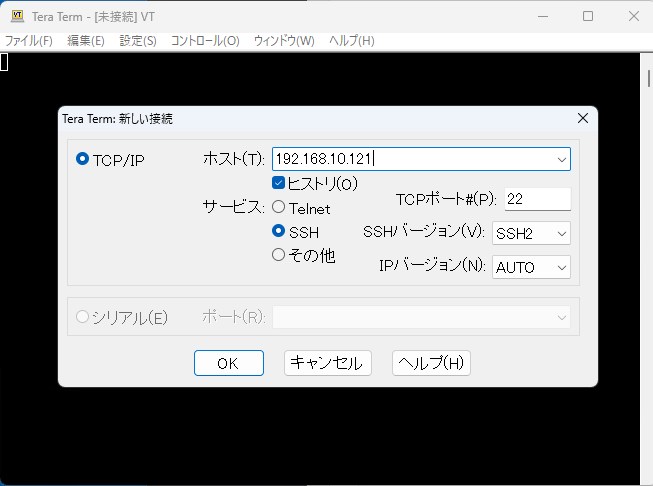
sshサーバーインストール作業を楽に進めるため、Teraterm経由で接続できるようにするために導入します。
ProxmoxVEのコンソールでも構築作業はできますが、Windows端末からのコピペができずとても苦労します。
# apt update
# apt upgrade

# apt install openssh-server
Windows端末からteratermというフリーソフトでSSH接続を行います。
teratermでSSH接続が出来ましたら、早速コマンド操作とエディタでの設定編集をしてみましょう。
まずはUbuntu内nanoエディタで行番号が出るように設定を変更します。
# nano /etc/nanorc

# 75行目 linenumbersのコメントアウトを外す

set linenumbers
nanoエディタは下側にショートカットコマンドが表示されるため、viエディタより使いやすいです。
以上で構築環境が整備出来ました。
[2]apache2インストール
Apacheをインストールします。
# apt -y install apache2
Apacheの設定を行います。
サーバー名は今回はイントラ内で稼働させる場合はデフォルトでも構いません。
# nano /etc/apache2/conf-enabled/security.conf

# 12行目 : 変更
ServerTokens Prod

# nano /etc/apache2/mods-enabled/dir.conf

# 1行目 : ディレクトリ名のみでアクセスできるファイル名を設定
DirectoryIndex index.html index.htm

# nano /etc/apache2/apache2.conf

# 70行目 : サーバー名追記
ServerName www.falconblog.org
# nano /etc/apache2/sites-enabled/000-default.conf

# 11行目 : 管理者アドレス変更
ServerAdmin webmaster@falconblog.org

# systemctl restart apache2
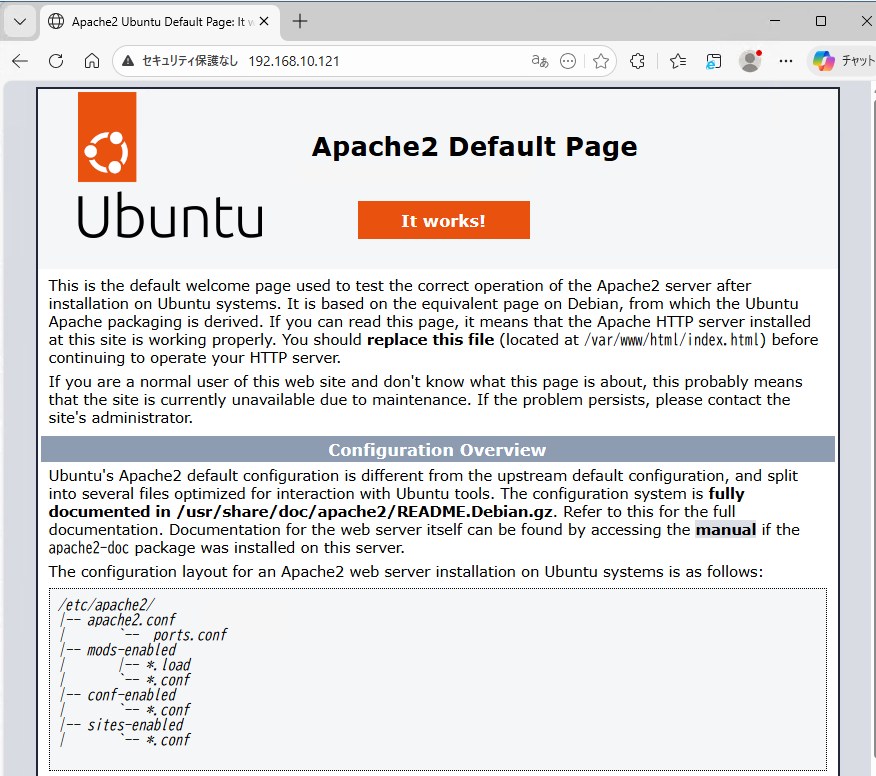
Windows端末のWebブラウザーで[http:(サーバーIPアドレス)/]にアクセスします。
以下のデフォルトページが表示されればapacheのインストールは完了です。
[3]PHPとPHP-FPMのインストール
WordPressが用いるプログラミング言語であるPHP 8.3 をインストールします。
Ubuntu24系はPHP8.3になります。
※Ubuntu22系の場合はPHP8.1になります。
# apt -y install php8.3 php8.3-mbstring php-pear

# php -v
PHP 8.3.6 (cli) (built: Apr 15 2024 19:21:47) (NTS)
Copyright (c) The PHP Group
Zend Engine v4.3.6, Copyright (c) Zend Technologies
    with Zend OPcache v8.3.6, Copyright (c), by Zend Technologies

# テストスクリプトを作成し動作確認する
# echo '<?php echo `php -i`."\n"; ?>' > php_test.php
# php php_test.php | head
phpinfo()
PHP Version => 8.3.6

System => Linux falcon-mitsumori 6.14.0-37-generic #37~24.04.1-Ubuntu SMP PREEMPT_DYNAMIC Thu Nov 20 10:25:38 UTC 2 x86_64
Build Date => Jul 14 2025 18:30:55
Build System => Linux
Server API => Command Line Interface
Virtual Directory Support => disabled
Configuration File (php.ini) Path => /etc/php/8.3/cli
Loaded Configuration File => /etc/php/8.3/cli/php.ini
php-fpmをインストールします。
php-fpmは、WebサーバーからのPHPスクリプト実行リクエストを効率的に処理するためのプロセスマネージャーです。
# apt -y install php8.3-fpm
PHP-FPM を設定したい Virtual host 設定内に設定を追加します。
# a2enmod proxy_fcgi setenvif
Considering dependency proxy for proxy_fcgi:
Enabling module proxy.
Enabling module proxy_fcgi.
Module setenvif already enabled
To activate the new configuration, you need to run:
  systemctl restart apache2

# a2enconf php8.3-fpm
Enabling conf php8.3-fpm.
To activate the new configuration, you need to run:
  systemctl reload apache2

# systemctl restart php8.3-fpm apache2
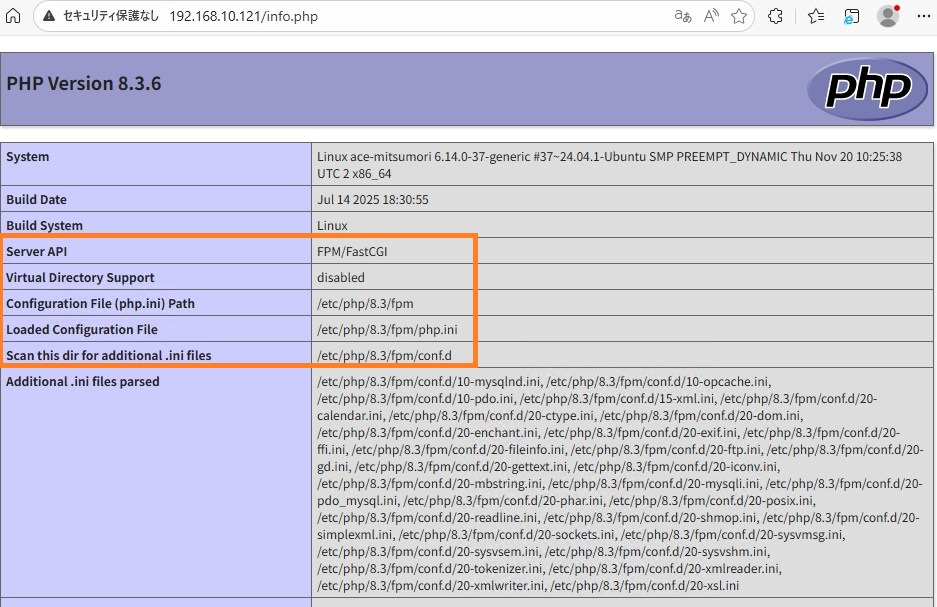
設定した 仮想HOST 内に php.info を作成し、Webブラウザーから[http://(サーバーアドレス)/info.php]にアクセスします。
# echo '<?php phpinfo(); ?>' > /var/www/html/info.php
Server APIが[FPM/FastCGI] と表示されていれば完了です。
[4]MariaDBサーバーのインストール
MariaDBをインストールして、データベースサーバーを構築します。
MariaDBをインストールして起動します。
# apt -y install mariadb-server

# nano /etc/mysql/mariadb.conf.d/50-server.cnf

# 95行目 : デフォルトの文字コードを確認
# 絵文字等 4バイト長の文字を扱う場合は [utf8mb4]
character-set-server  = utf8mb4
collation-server      = utf8mb4_general_ci

# systemctl restart mariadb
MariaDB の初期設定を行います。
Y/n質問が6回ありますので以下の通りに回答します。
# mysql_secure_installation

NOTE: RUNNING ALL PARTS OF THIS SCRIPT IS RECOMMENDED FOR ALL MariaDB
      SERVERS IN PRODUCTION USE!  PLEASE READ EACH STEP CAREFULLY!

In order to log into MariaDB to secure it, we'll need the current
password for the root user. If you've just installed MariaDB, and
haven't set the root password yet, you should just press enter here.

Enter current password for root (enter for none):
OK, successfully used password, moving on...

Setting the root password or using the unix_socket ensures that nobody
can log into the MariaDB root user without the proper authorisation.

You already have your root account protected, so you can safely answer 'n'.

Switch to unix_socket authentication [Y/n] n
 ... skipping.

Change the root password? [Y/n] n
 ... skipping.

Remove anonymous users? [Y/n] y
 ... Success!

Disallow root login remotely? [Y/n] y
 ... Success!
Remove test database and access to it? [Y/n] y
 - Dropping test database...
 ... Success!
 - Removing privileges on test database...
 ... Success!

Reload privilege tables now? [Y/n] y
 ... Success!
MariaDBの動作テストします。
データベース一覧表示とユーザー情報の確認だけ行っておけばいいでしょう。
# mysql
Welcome to the MariaDB monitor.  Commands end with ; or \g.
Your MariaDB connection id is 4374
Server version: 10.11.13-MariaDB-0ubuntu0.24.04.1 Ubuntu 24.04

Copyright (c) 2000, 2018, Oracle, MariaDB Corporation Ab and others.

Type 'help;' or '\h' for help. Type '\c' to clear the current input statement.

MariaDB [(none)]> show databases;
+--------------------+
| Database           |
+--------------------+
| information_schema |
| mysql              |
| performance_schema |
| sys                |
+--------------------+
4 rows in set (0.000 sec)

MariaDB [(none)]> select user,host,password from mysql.user;
+-------------+-----------+----------+
| User        | Host      | Password |
+-------------+-----------+----------+
| mariadb.sys | localhost |          |
| root        | localhost | invalid  |
| mysql       | localhost | invalid  |
+-------------+-----------+----------+
3 rows in set (0.001 sec)

MariaDB [(none)]> exit
Bye
以上でMariaDBの構築は終了です。
※参考:既存データを消去して初期化する場合は、以下の通りに実行します。Y/n質問回答を間違った場合に実施してください。
# systemctl stop mariadb
# rm -rf /var/lib/mysql/*
# mysql_install_db --datadir=/var/lib/mysql --user=mysql
# systemctl start mariadb
[5]WordPressシステムのインストール
WordPressに必要なPHPモジュールを追加インストールします。
# apt -y install php-common php-gd php-mysql php-enchant hunspell

# nano /etc/php/8.3/fpm/pool.d/www.conf

# 最終行に追記
# WordPressのアップロードサイズを2Gbytesに上げます
php_value[max_execution_time] = 600
php_value[memory_limit] = 2G
php_value[post_max_size] = 2G
php_value[upload_max_filesize] = 2G
php_value[max_input_time] = 600
php_value[max_input_vars] = 2000
php_value[date.timezone] = Asia/Tokyo

# systemctl reload php8.3-fpm
WordPress用のユーザーとデータベースを作成します。
初期ID:wordpress、初期パスワード:password、としています。
# mysql
Welcome to the MariaDB monitor.  Commands end with ; or \g.
Your MariaDB connection id is 37
Server version: 10.11.7-MariaDB-2ubuntu2 Ubuntu 24.04

Copyright (c) 2000, 2018, Oracle, MariaDB Corporation Ab and others.

Type 'help;' or '\h' for help. Type '\c' to clear the current input statement.

MariaDB [(none)]> create database wordpress;
Query OK, 1 row affected (0.00 sec)

MariaDB [(none)]> grant all privileges on wordpress.* to wordpress@'localhost' identified by 'password';
Query OK, 0 rows affected (0.00 sec)

MariaDB [(none)]> exit
Bye
WordPressをインストールし、Apache2にWordPressサイトの設定をします。
# WordPressのダウンロード
# wget https://wordpress.org/latest.tar.gz
# tar zxvf latest.tar.gz -C /var/www/
# chown -R www-data:www-data /var/www/wordpress
# nano /etc/apache2/conf-available/wordpress.conf

# 新規作成
Timeout 600
ProxyTimeout 600

Alias /wordpress "/var/www/wordpress/"
DirectoryIndex index.php index.html index.htm
<Directory "/var/www/wordpress">
    Options FollowSymLinks
    AllowOverride All
    Require all granted

    <FilesMatch \.(php|phar)$>
        SetHandler "proxy:unix:/var/run/php/php8.3-fpm.sock|fcgi://localhost/"
    </FilesMatch>
</Directory>

# a2enconf wordpress
Enabling conf wordpress.
To activate the new configuration, you need to run:
  systemctl reload apache2

# このままだとパーマリンクにindex.phpが入るため、以下設定も行います。
# a2enmod rewrite
Enabling module rewrite.
To activate the new configuration, you need to run:
systemctl restart apache2

# systemctl reload apache2
これでWordpressインストールは完了です。
[6]Wordpress初期設定
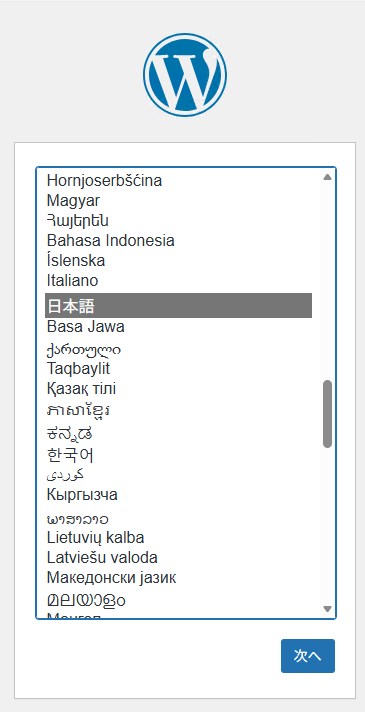
Webブラウザーで[(サーバーIPアドレス)/wordpress/]にアクセスします。
言語選択が出ますので[日本語]を選びます。
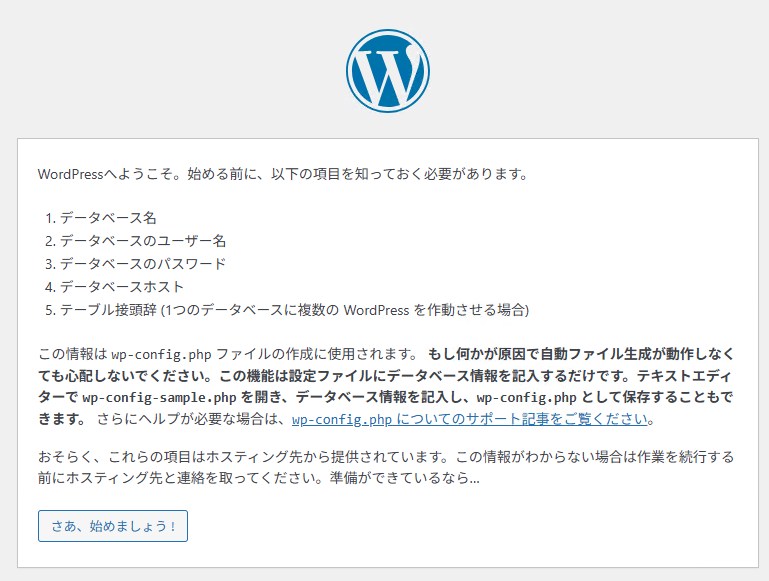
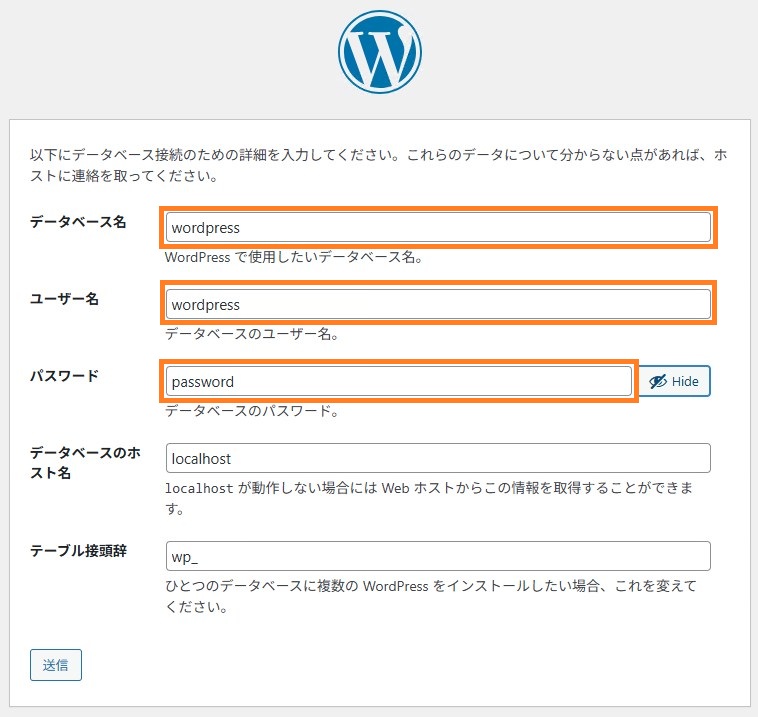
データベース接続の設定をします。
データベースのユーザーアカウントは[4]で設定した、初期ID:wordpress、初期パスワード:password、となります。
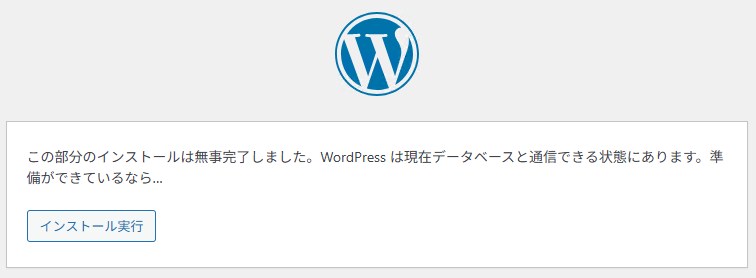
インストール実行をクリックします。
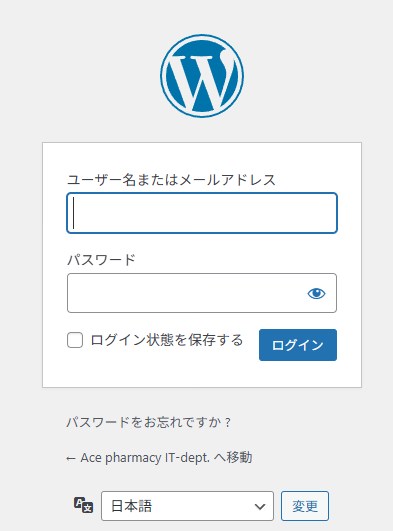
サイト設定します。ここで設定するユーザーはWordPressの管理者として登録されます。
設定後、管理者ユーザーでログインします。
ログインに成功するとWordPress管理画面になります。
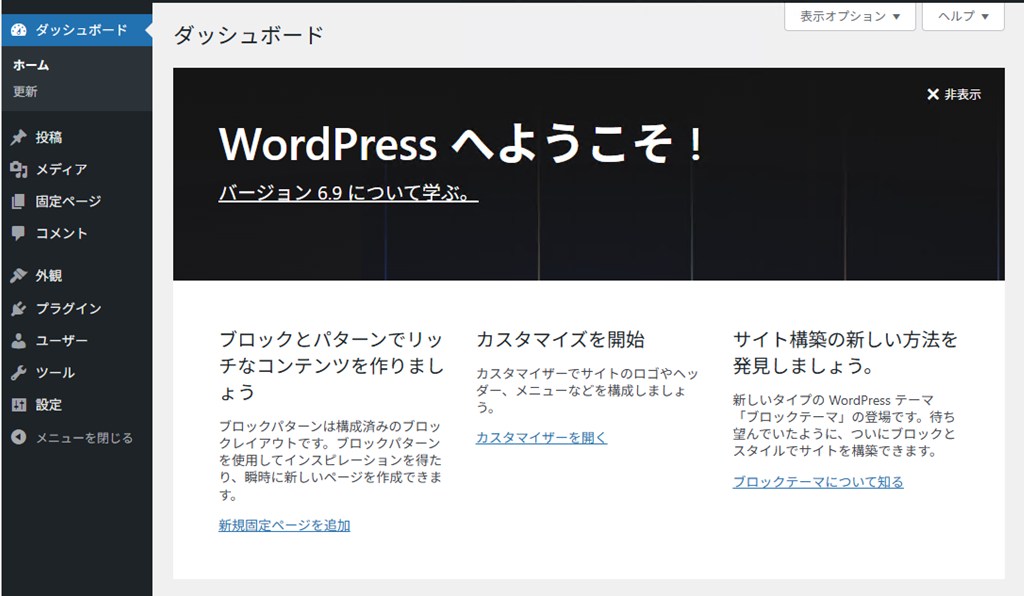
以降の操作はレンタルサーバーのWordPress使い方を見ていただく方がいいでしょう。
まとめ
オンプレミスのWordPressは有料レンタルサーバーと同じ動きをしてくれます。
保存先のディレクトリこそ若干違いますが、WordPressプラグインの「All in one Migration」を使うことで、完璧な移行コピーも可能です。.htaccess等の編集も必要ありません。
外部からアクセスできませんので、HP作成における事前検証などにも広く活用しています。